
How to Prepare for Termite Fumigation in Florida
Facing a pest infestation can be a daunting experience for any homeowner, especially when pests have invaded every nook and cranny of the home. That's where tent fumigation comes in – it's a tried and true method that offers a comprehensive solution to pest woes.
Imagine your house being fully encapsulated by a gas-tight tent and a powerful fumigant being released. Learn more about this gas that sneaks into every possible hideout and ensures those unwelcome guests don't stand a chance.
Key Takeaways
- Effective tent fumigation hinges on meticulous preparation for safety and success.
- Before fumigation, you must secure food, relocate pets, and follow specific preparation steps.
- Upholding safety during fumigation and thorough cleanup post-re-entry are crucial for a successful outcome.
What Is Tent Fumigation?
Tent fumigation is a crucial method of termite control. It involves surrounding the property with a tent and dispensing a fumigant to eradicate pests like termites.
It is a thorough and effective treatment that requires significant preparation and strict adherence to safety protocols.
The Fumigation Process 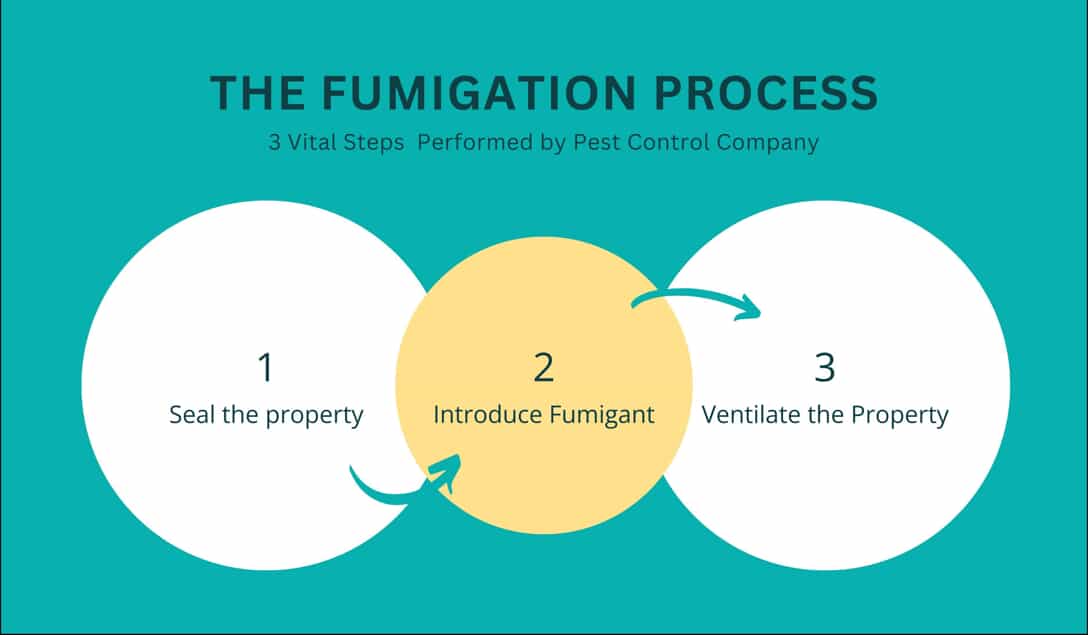
As part of comprehensive pest management, tent fumigation typically entails several vital steps.
- Seal the Property ? The pest control company seals the property with a large tent to contain the fumigant, starting the termite tenting.
- Introduce Fumigant ? A specific gas is introduced. This gas permeates all areas within the structure, including crevices, effectively eradicating pests.
- Ventilate the Property ? After a set period (usually 24 to 72 hours), the property is ventilated to expel all gasses before reentry.
The pest control professional meticulously manages the entire process to ensure safety and effectiveness.
Termite Infestations
Termites
- Primary targets (such as drywood termites) due to their potential for significant structural damage to properties.
- Tent fumigation is an essential termite treatment, especially critical to address when infestations are extensive and deep within structures.
- Dry wood termite infestations require immediate attention due to their destructive nature, making tent fumigation a go-to solution.
Before Fumigation: Preparation Checklist
Before the tent fumigation process begins, thorough fumigation preparation ensures your belongings are protected and living areas are prepped for safety. 
Protecting Your Belongings
- Closets and Drawers: Remove all items from cupboards and drawers to prevent damage and allow for thorough fumigation.
- Furniture and Mattresses: Cover them with plastic sheeting to shield them from chemicals.
- Plants: Relocate houseplants outside the home, as fumigation chemicals can harm them.
- Aquariums: Seal off aquariums tightly or relocate them to safeguard aquatic life.
Handling Food and Medications
- Cans and Jars: Foods in unopened cans or jars like cereals can remain, but ensure they are stored in centralized locations such as freezers for added safety.
- Medication: Keep medications in metal bottles, seal tobacco products in plastic or Nylofume bags, remove them from the property, or store them securely in refrigerators.
- Pet Food: Similar to human food, pet food should be sealed inside a double-bag or removed from the premises.
Preparing Living Areas
- Appliances and Cabinets: Unplug all devices, including heaters, and prop open cabinet doors to allow the fumigant to circulate freely.
- Windows and Doors: Unlock and open all windows and doors within the property, excluding the exterior doors.
- Linens: Remove all linens from the beds and furniture. Store, seal, or place linens in fumigation-proof bags or remove them from the home.
- Gas Line: Contact the gas company to ensure the gas service is shut off correctly as part of the safety protocols.
During Fumigation: The Timeline
During this phase, you should know that the house becomes temporarily off-limits. Fumigators take complete control to ensure safety and effectiveness while gas permeates the structure.
Stage | Description |
Home Sealing | Fumigators envelop the home with tarps, extinguishing all pilot lights to create a safe environment. |
Fumigant Release | Introduce the fumigant gas, targeting pests’ nervous systems, and allow it to penetrate fully. |
Home Ventilation | The home is ventilated for several hours to a full day before re-entry after the gas works. |
After Fumigation: Re-Entry and Cleanup
Once the fumigation process is complete and the tenting materials have been removed, homeowners need to know the crucial steps for safe re-entry and effective cleanup.
Post-Fumigation Inspection
Inspections are vital to ensure that the fumigant has entirely dissipated.
- Certified Inspection: Ensure an accredited professional exterminator performs a free inspection and thorough property check.
- Measuring Fumigant Levels: Specialized equipment ensures fumigant levels are below the safety threshold.
- Await Official Clearance: Re-entry once an official clearance is issued.
Aeration and Residue Management
Proper aeration reduces potential residues left on surfaces.
- Ensure Proper Aeration: Aerate the home to reduce potential residue on surfaces.
- Clean All Essentials: Clean all surfaces, especially those in contact with food or utensils. Wash all bedding, clothing, and dishes, even if bagged during fumigation.
- Dispose of Protective Materials: Dispose of plastic covers and bags used in the tenting process according to local regulations.
What Are Safety Measures You Should Follow?
Safety is paramount in tent fumigation. Due to the nature of the pesticide used in fumigation, it's essential to rigorously follow all listed safety measures.
Before Fumigation
- Ensure residents, pets, and shrubbery vacate the premises.
- Remove or seal food items and medications.
- Inform neighbors of the fumigation process.
- Conduct fumigation only in suitable weather conditions.
During Fumigation
- Place warning signs around the property.
After Fumigation
- Perform thorough ventilation and chemical residue checks post-fumigation.
- Be aware that the home may need more ventilation.
- Only re-enter once the aeration process is fully completed.
- Open all windows and doors to facilitate the circulation of fresh air.
- Make sure all traces of the fumigant have been fully vented out.
- Even after professional clearance, avoid staying in poorly ventilated areas for extended periods within the first 24 hours of returning.